
If you’re new to recording your drawings, it’s important to know how to set up a camera to record drawings correctly. There are a few things to remember, such as lighting and composition. In this article, we’ll go over some best practices for using a camera and how to set up camera to record drawing video correctly to achieve optimal results.
With these tips, you’ll be able to create high-quality videos that showcase your work. Remember that your drawing video is like a virtual portfolio of your work. So, You should know all the tricks properly and apply them while recording your drawings.
Set Up Your Camera to Record Drawing Videos
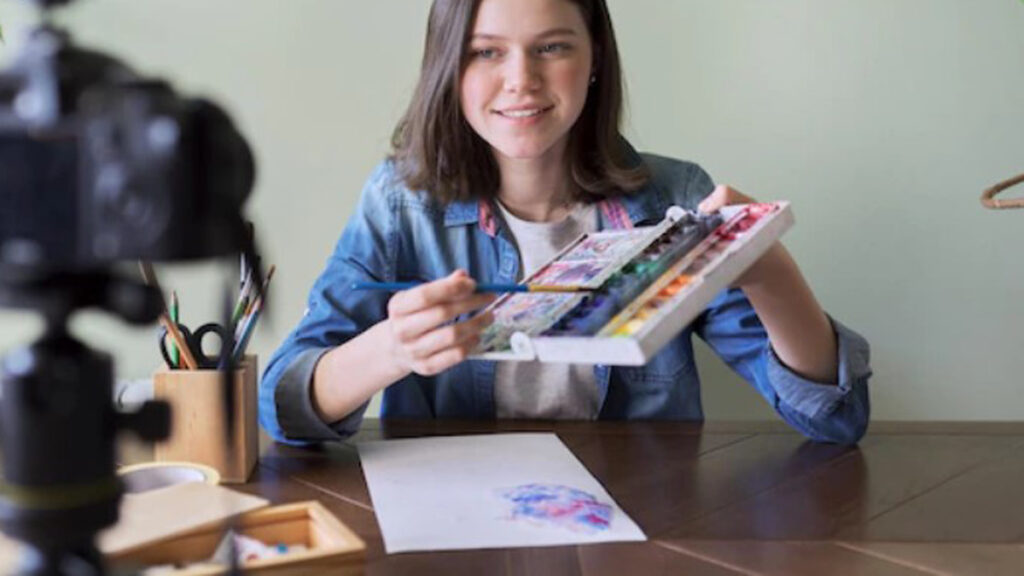
Setting up the drawing camera on your drawing tablet to capture videos of your artistic process is a great way to document your drawing. This technique will allow you to edit and annotate your drawing to find out what works best for you. It also makes it easier to compare your work to your progress so you can improve your process as you go. If you have access to a drawing tablet, this is a great use of it.
If not, you can still set up a camera to record your drawing process. There are several ways to do this. You can put the camera on a tripod or stand. No need to apply any backdrop stand or extra reflector. Then adjust the screen, so it is about one foot from your eyes and frame of reference. Now use a piece of paper as a guideline to draw on.
This way, you don’t have to look at your camera to draw. You can hold the pencil in your hands. After you draw, you can take the paper off and compare it with the video. (If you don’t have a piece of paper handy, you can take the old plastic sheet that used to be on the lens of your camera.) This process will give you a sense of how far away you need to stand.
In my case, I needed to put the paper about 4-5 inches away from my face. If the frame of reference is all wrong, you’ll see weird, obvious errors like your shoulders being too high or low or your feet being in the wrong place. That’s why it’s important to watch the video back to check for mistakes.
What’s Next to set up your camera to record drawing?
Once you’ve got a general idea of what you want your drawing to look like, you can move on to setting up the camera. When I’m in the early stages of a project, I write out the rules. For example, I’ll take some small pieces of paper and write out all the rules for my upcoming video: the minimum amount of time I can spend on it, the quality of the video I need, and how long it should last. These are guidelines, not rules. You can always add more time later if needed.
Camera Settings Tips:
Here are some most necessary settings that you might want to experiment with:
- Set your timer for 1 minute
- Change the resolution of your video from 1280×720 to 720×480
- Switch off autofocus functionality
- Turn off flash
- Start the camera app in landscape orientation
Set the polarizer, starting at 55-60% and getting darker towards 100%. If you go too far towards the edge and end up with a black screen, you can turn the brightness down slightly or try lowering the polarizer gradient strength. If you do this, make sure to also turn on the ‘Auto adjust brightness’ option in your settings.
To get a clear image of your drawing, you may try reducing the brightness to let less light in. Especially important if you are using the camera in low light conditions, such as indoors, where there isn’t much artificial light around.
Finally:
Here I will explore how to set up your camera with the best settings to ensure that your drawing style has taken perfectly. The basic principle of capturing a drawing video on camera is creating a clean line work by using a polarizing filter, turning off the autofocus functionality, and choosing the best camera settings for your drawing style.
If you want to capture a drawing video on camera with a Polarizing filter, you need to set your camera in the following way:
- To be able to use a polarizing filter with your digital camera, you will need to install a Camera app onto your smartphone.
- After installing the camera app, turn on the polarizer functionality by swiping to the right of the screen and enable the ability to use filters.
- After enabling the functionality, set the polarizer up to have a gradient from left to right. It’s easiest to start at around 55-60%, so you can darken it as you reach 100%.
However, you can experiment with starting around 20% if that is more suitable for your camera. Set the camera to landscape orientation to record your drawing, and place the phone screen flat on a table. This process will enable you to draw towards the top of the screen. You want to be able to see the lines you are creating but without light reflecting off the glass. It’s best to use a desk or table surface that won’t warp your polarizer too much and allows you to draw without feeling like you’re holding the camera at an angle.
Important Things to Keep in Mind While Record Drawing Video
You need to turn off autofocus functionality and disable the flash. You can also experiment with trying to angle the camera downward towards the surface to limit light reflection. If you do, it’s best to experiment to see what works best for your specific setup. As an example, I tried placing my polarizer down, but that meant that any glare on the glass reflected right back into the camera lens, but I found that if I placed it higher up above the table, it helped reduce the amount of glare reflection into the camera lens but wasn’t quite as stable.
I settled on around 50-70% to achieve the best balance. Also, remember to angle the camera towards your drawing as much as possible to limit any light reflection. Ensure you’re recording what you’re drawing. Now that we have our camera setup correctly and turned off autofocus functionality and flash. You can start drawing and capturing your video. Playback your drawing, making sure it looks nice and clean, with all the lines being straight and reasonably dark, even if they aren’t fully black.
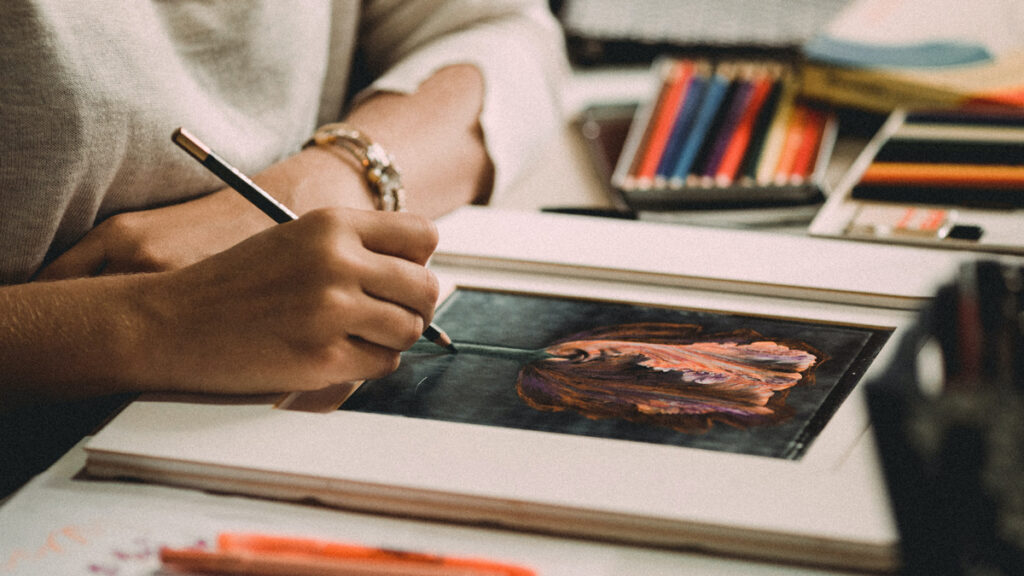
Make sure Elements are Visible
If you have some features such as eyes, eyebrows, and smaller facial features that need to be more defined. Try adding more layers or brightening them to ensure they are visible. Also, you can experiment with increasing the opacity of some of the details on the model, as this will help you achieve a darker tone for them in your video. Now record the video. Start by turning off autofocus functionality and disabling the flash. I find that it’s easiest to hold my phone so that the lens is up but towards the camera is a bit downward.
These tips will help reduce screen glare and help you hold the phone without feeling like you’re holding it at an angle. Also, to help with stability, place a small piece of paper or something similar under the camera’s lens. It helps to start the recording, so set the ISO to something like 100-200 to ensure it is slightly dark enough.
To get a clear image of your drawing, you may try reducing the brightness to let less light in. It is especially important if you are using the camera in low light conditions, such as indoors, where there isn’t much artificial light around.
The Best Time to Record Drawing Video
The best time to create a recording on your camera depends on many factors. In particular, it depends on the light and your surroundings. For example, the following are not good times to record:
- At night
- When the sun is setting
- When there is a lot of light coming from the windows
- When there is a lot of light coming from the sky (clouds)
On a sunny day, Things like light and weather conditions can adjust using an app or certain settings on your camera. However, you can use an external flash if you don’t have a flash. An external flash is a device that fits on your camera. It will allow you to illuminate your drawing in low light conditions.
Final Words
As you can see, there are a few things to remember when set up your camera to record drawing videos. With these tips, you’ll be able to create high-quality videos that showcase your work. Remember that your drawing video is like a virtual portfolio of your work. So, apply all the tricks properly while recording your drawing.
Thanks for reading! If you found this article helpful, share it with your friends and followers. And, if you have any questions or suggestions, leave us a comment below!